Getting started
Welcome to AMALYTIX. This guide helps you set up your account and start using the most important features. The setup process differs slightly depending on your account type:
- Seller: You sell directly to Amazon customers
- Vendor: You sell to Amazon as a wholesale partner
- Hybrid: You use both selling models simultaneously
Our AMALYTIX Academy guides you step by step through getting started and using AMALYTIX. You can find this section in the left navigation under “Academy”.
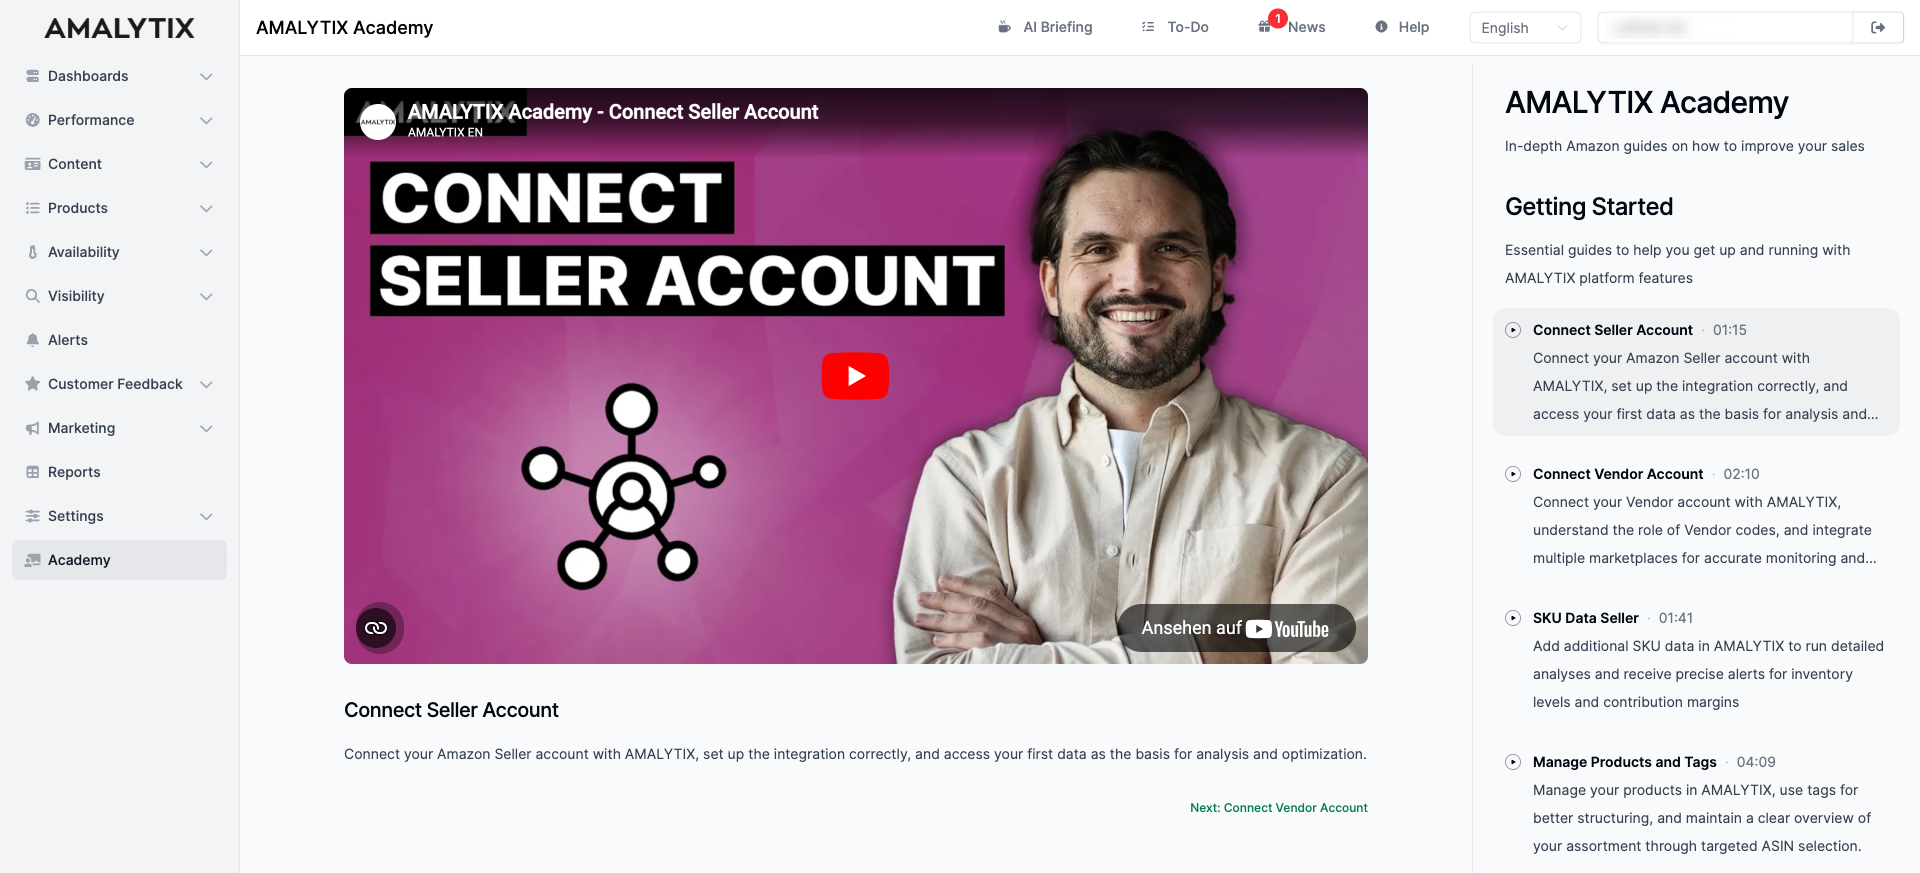
Complete all relevant steps to get the most out of AMALYTIX.
Connect your Amazon account
The first step is connecting your Amazon account to AMALYTIX. This gives AMALYTIX access to your sales, inventory, and product data.
Connect a Seller account
- Go to Settings / General / Amazon APIs
- Click Authorize Selling Partner API
- Sign in to Amazon Seller Central
- Confirm the authorization
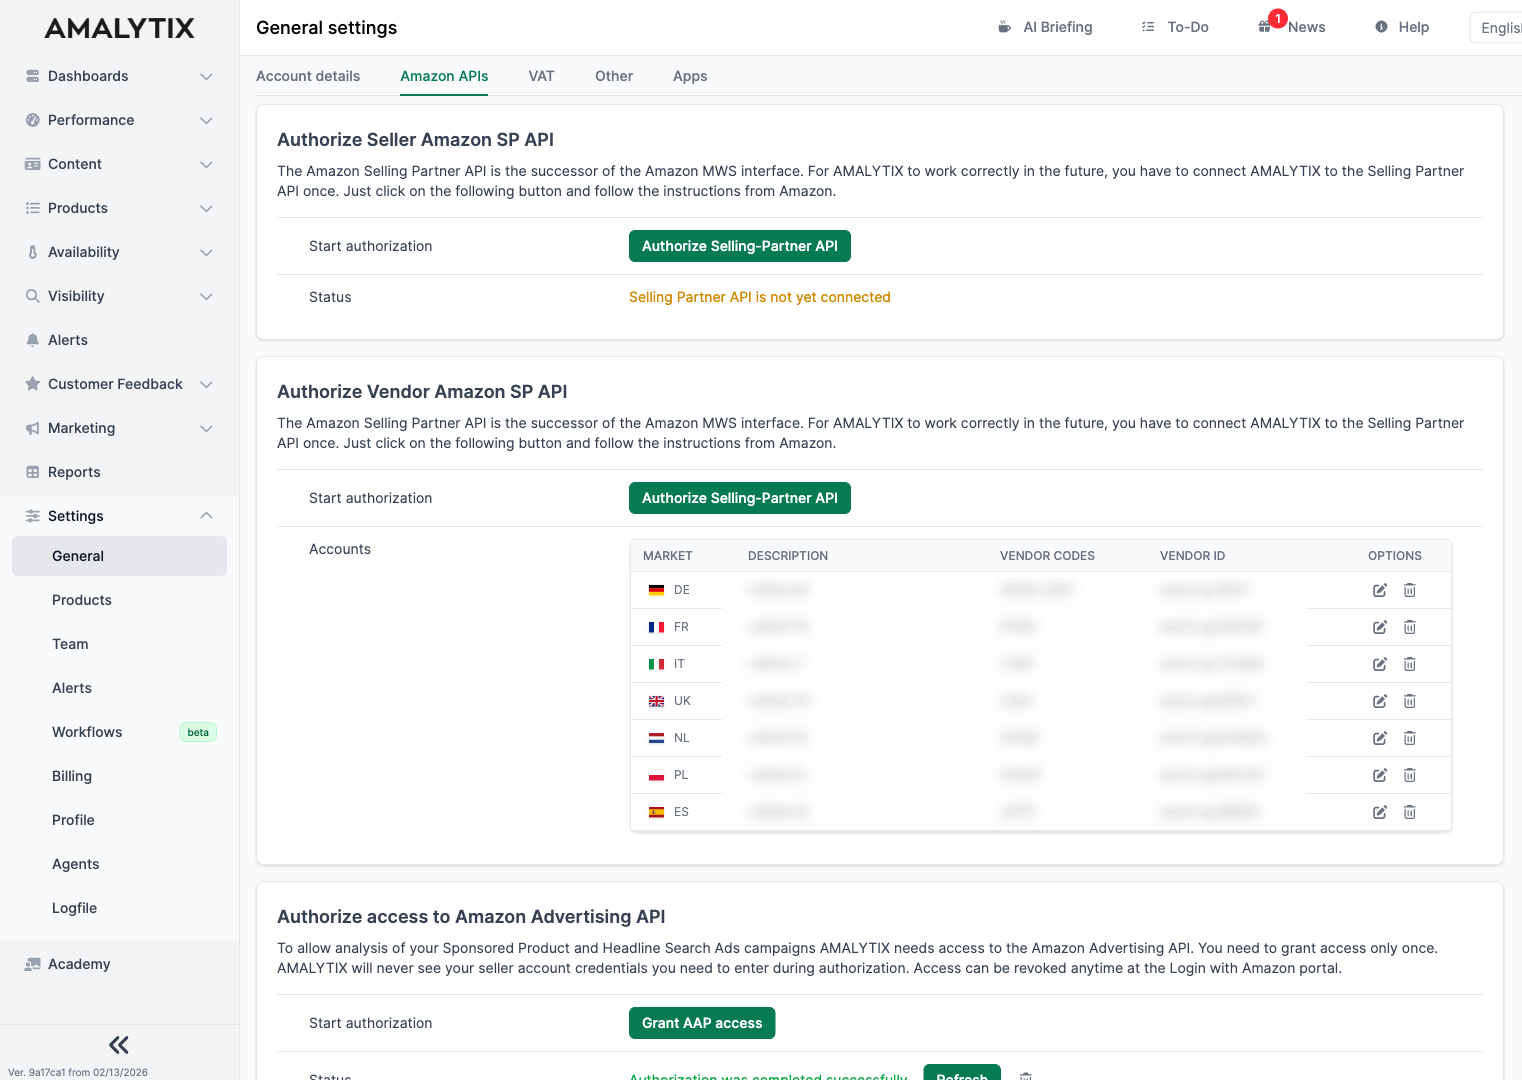
After signing in, confirm the connection on the following page:
Connect a Vendor account
For Vendors, the process is similar. Additionally, you need to provide:
- Vendor Code: Your unique identifier with Amazon
- Marketplace: The relevant Amazon marketplace (e.g., DE, UK, FR)
The initial import usually completes within 24 hours. After that, all data is available in AMALYTIX.
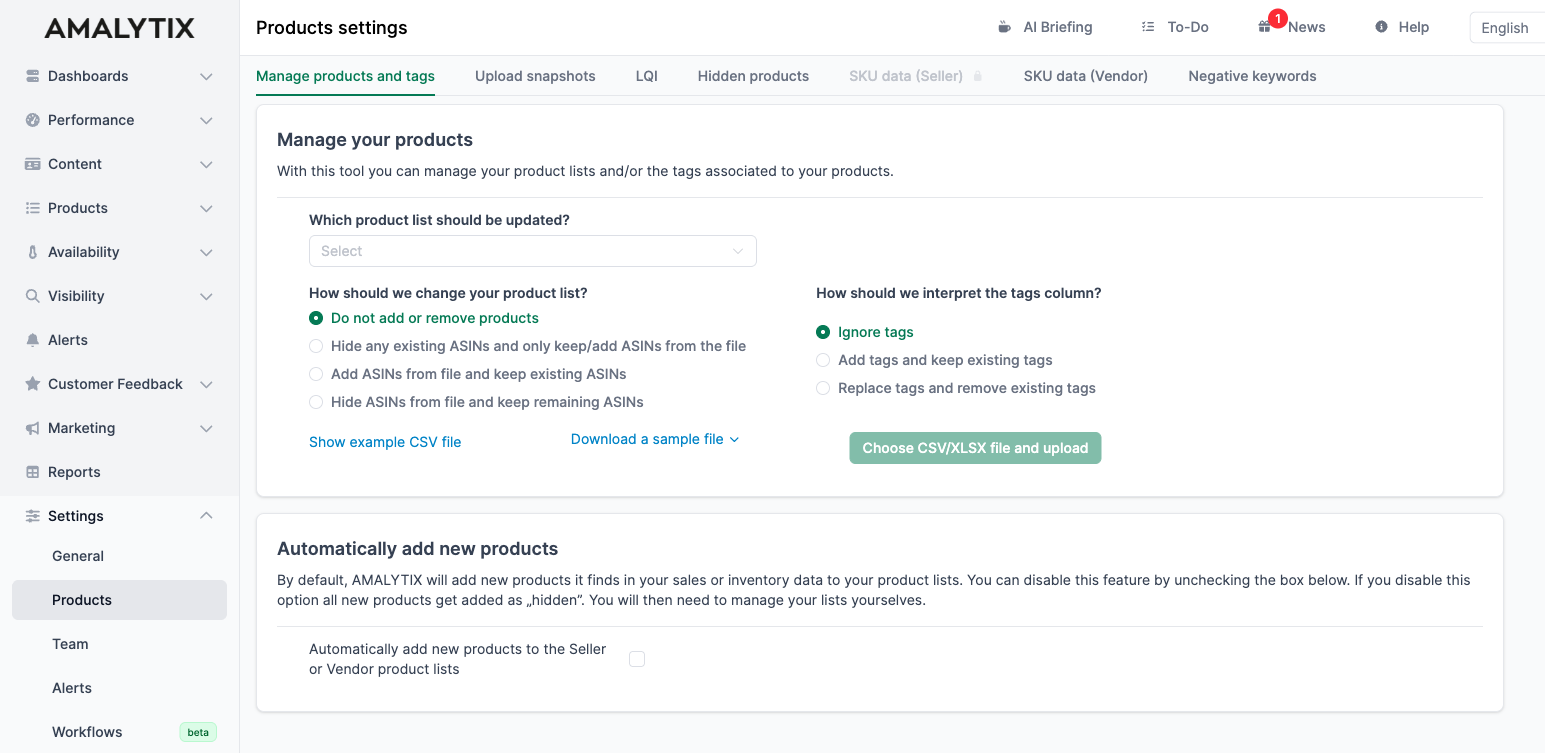
Update your product list
Under Settings / Products / Manage product lists, you can update your product lists (Seller, Vendor, Watchlist) via CSV upload. This is useful for adding, removing, or moving many products at once. This ensures that AMALYTIX monitors the right products.
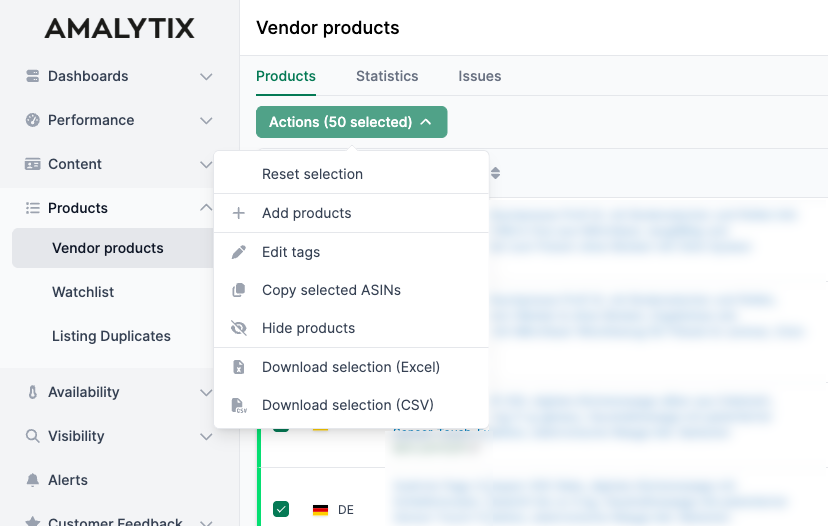
Set up tags
Organize your products with tags. Go to the product overview (Seller/Vendor Products), select the product and click Actions to assign tags to one or more products. This allows you to group your products flexibly, e.g. by category or new items, and filter your reports accordingly.
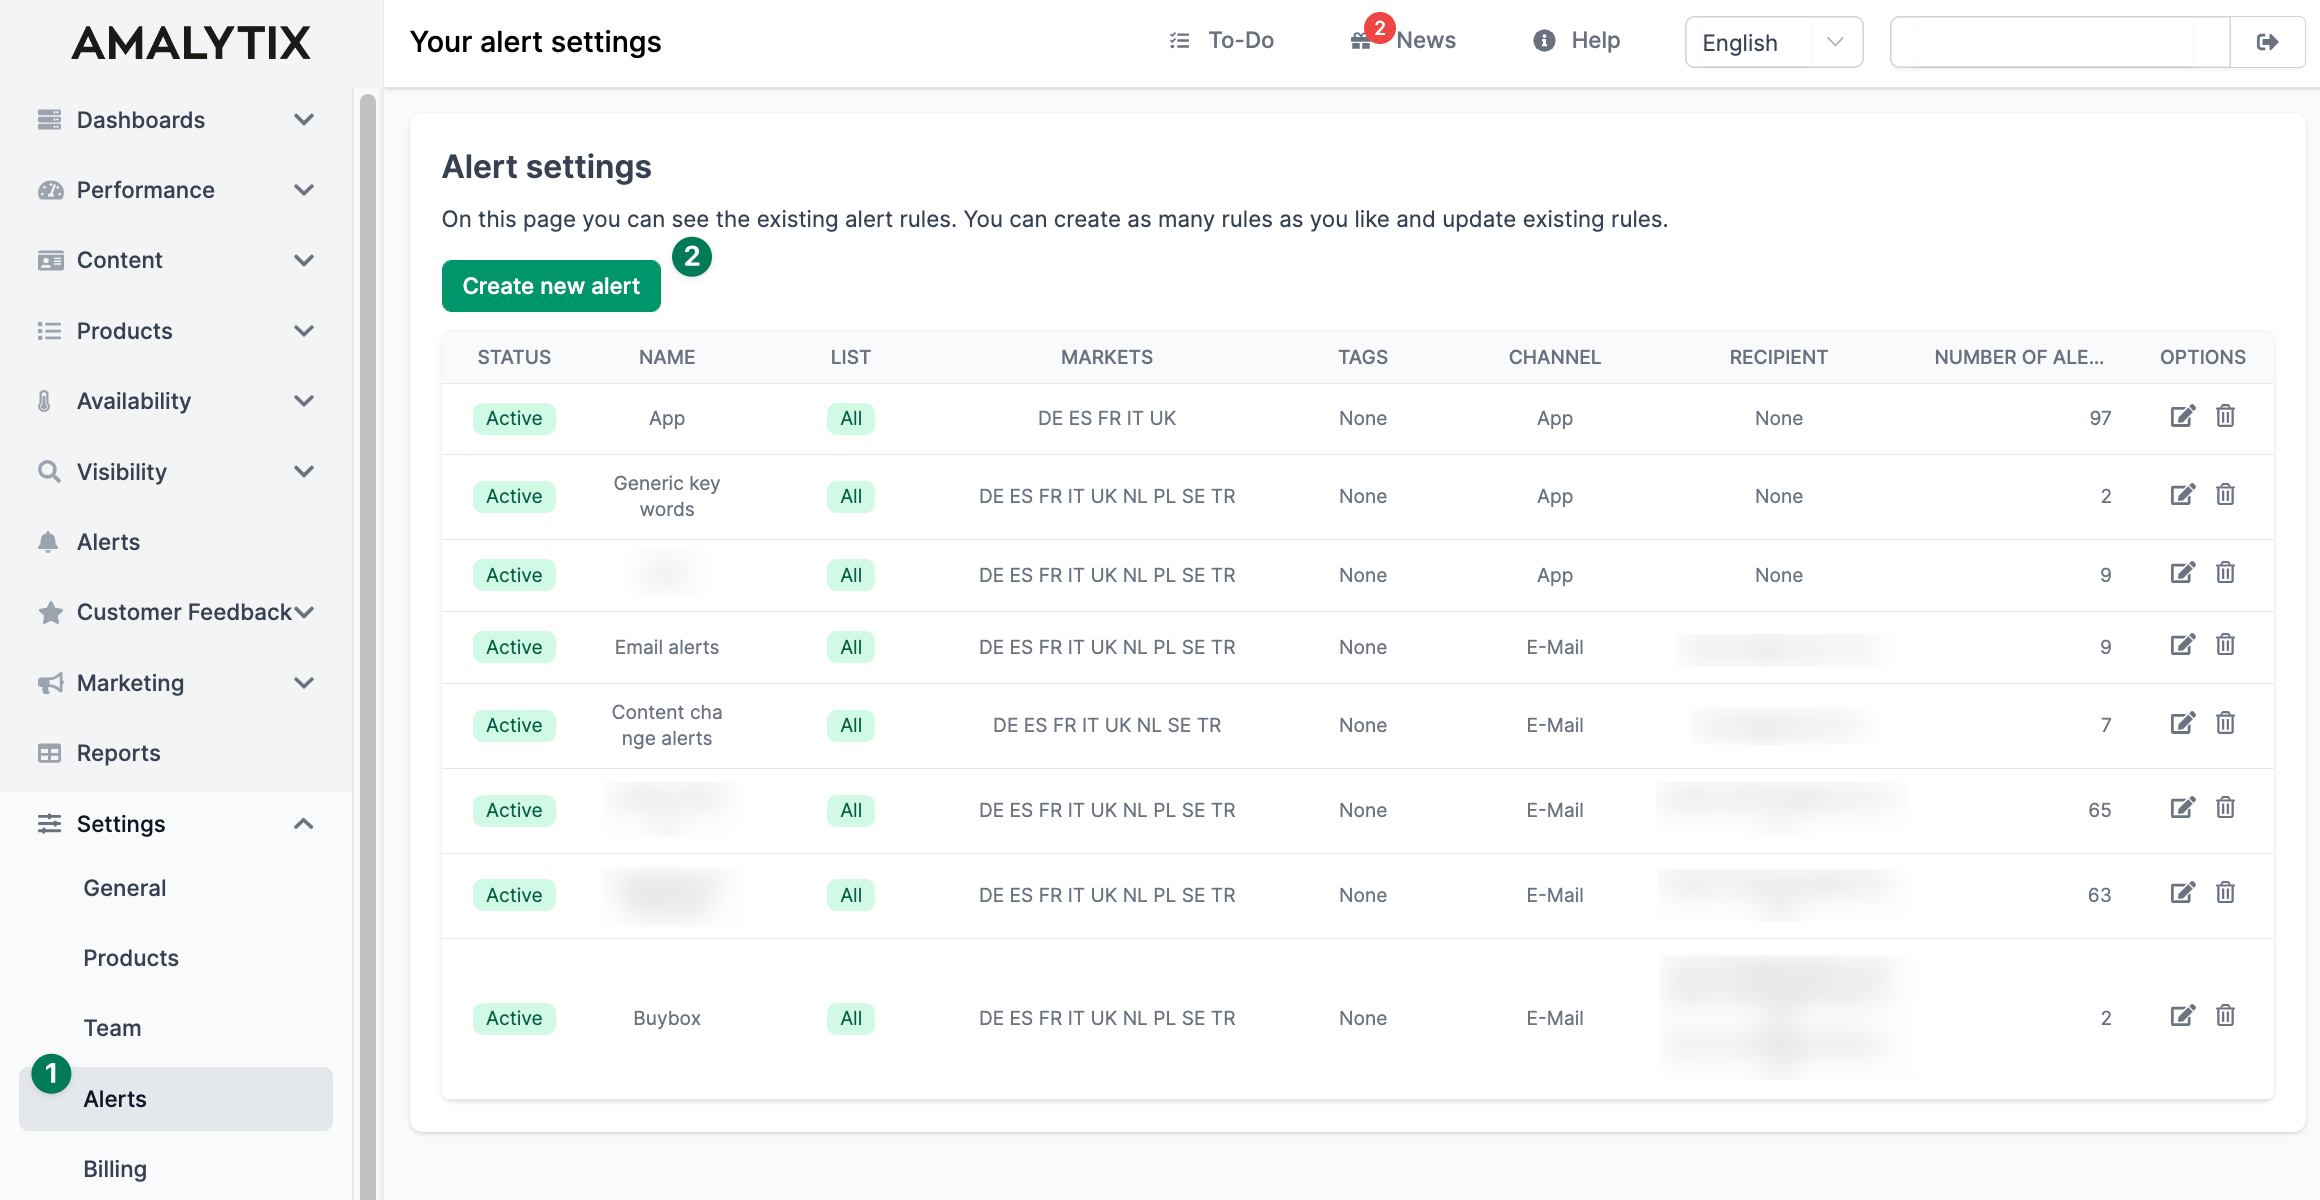
Customize alert rules
Alerts notify you about important changes to your products.
- Go to Settings / Alerts
- Create new rules or edit existing ones
- Choose how you want to be notified (email, Slack, MS Teams)
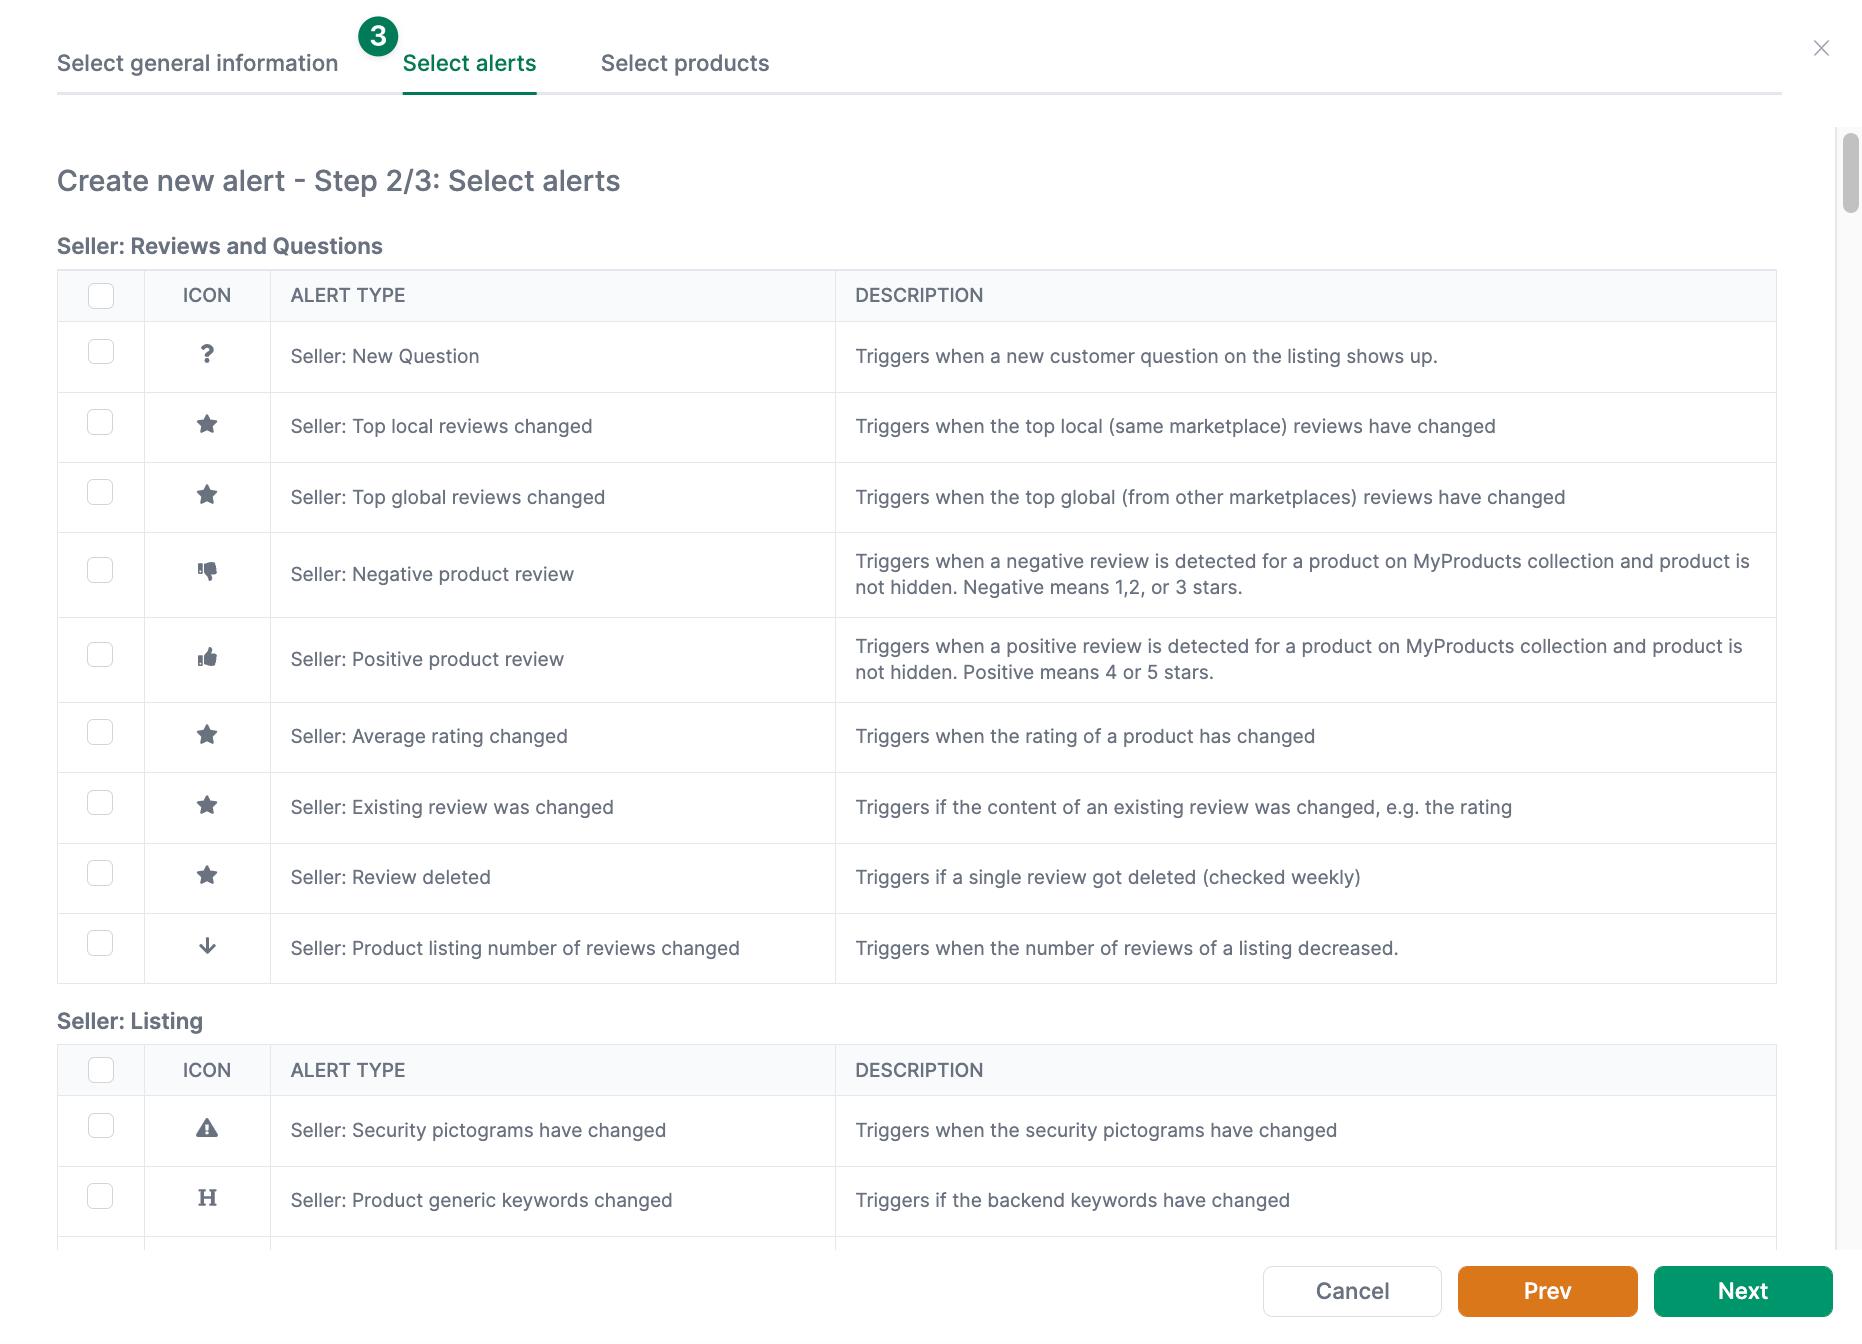
More information can be found here: Create alerts
Store snapshots for content monitoring
Snapshots are saved versions of your ideal listing content. With snapshot monitoring, you immediately notice when Amazon or third parties change your content.
How to use snapshots:
- Go to the Content product detail page
- Enter your desired content for:
- Title
- Bullet points
- Description
- Backend keywords
- Save this as a snapshot
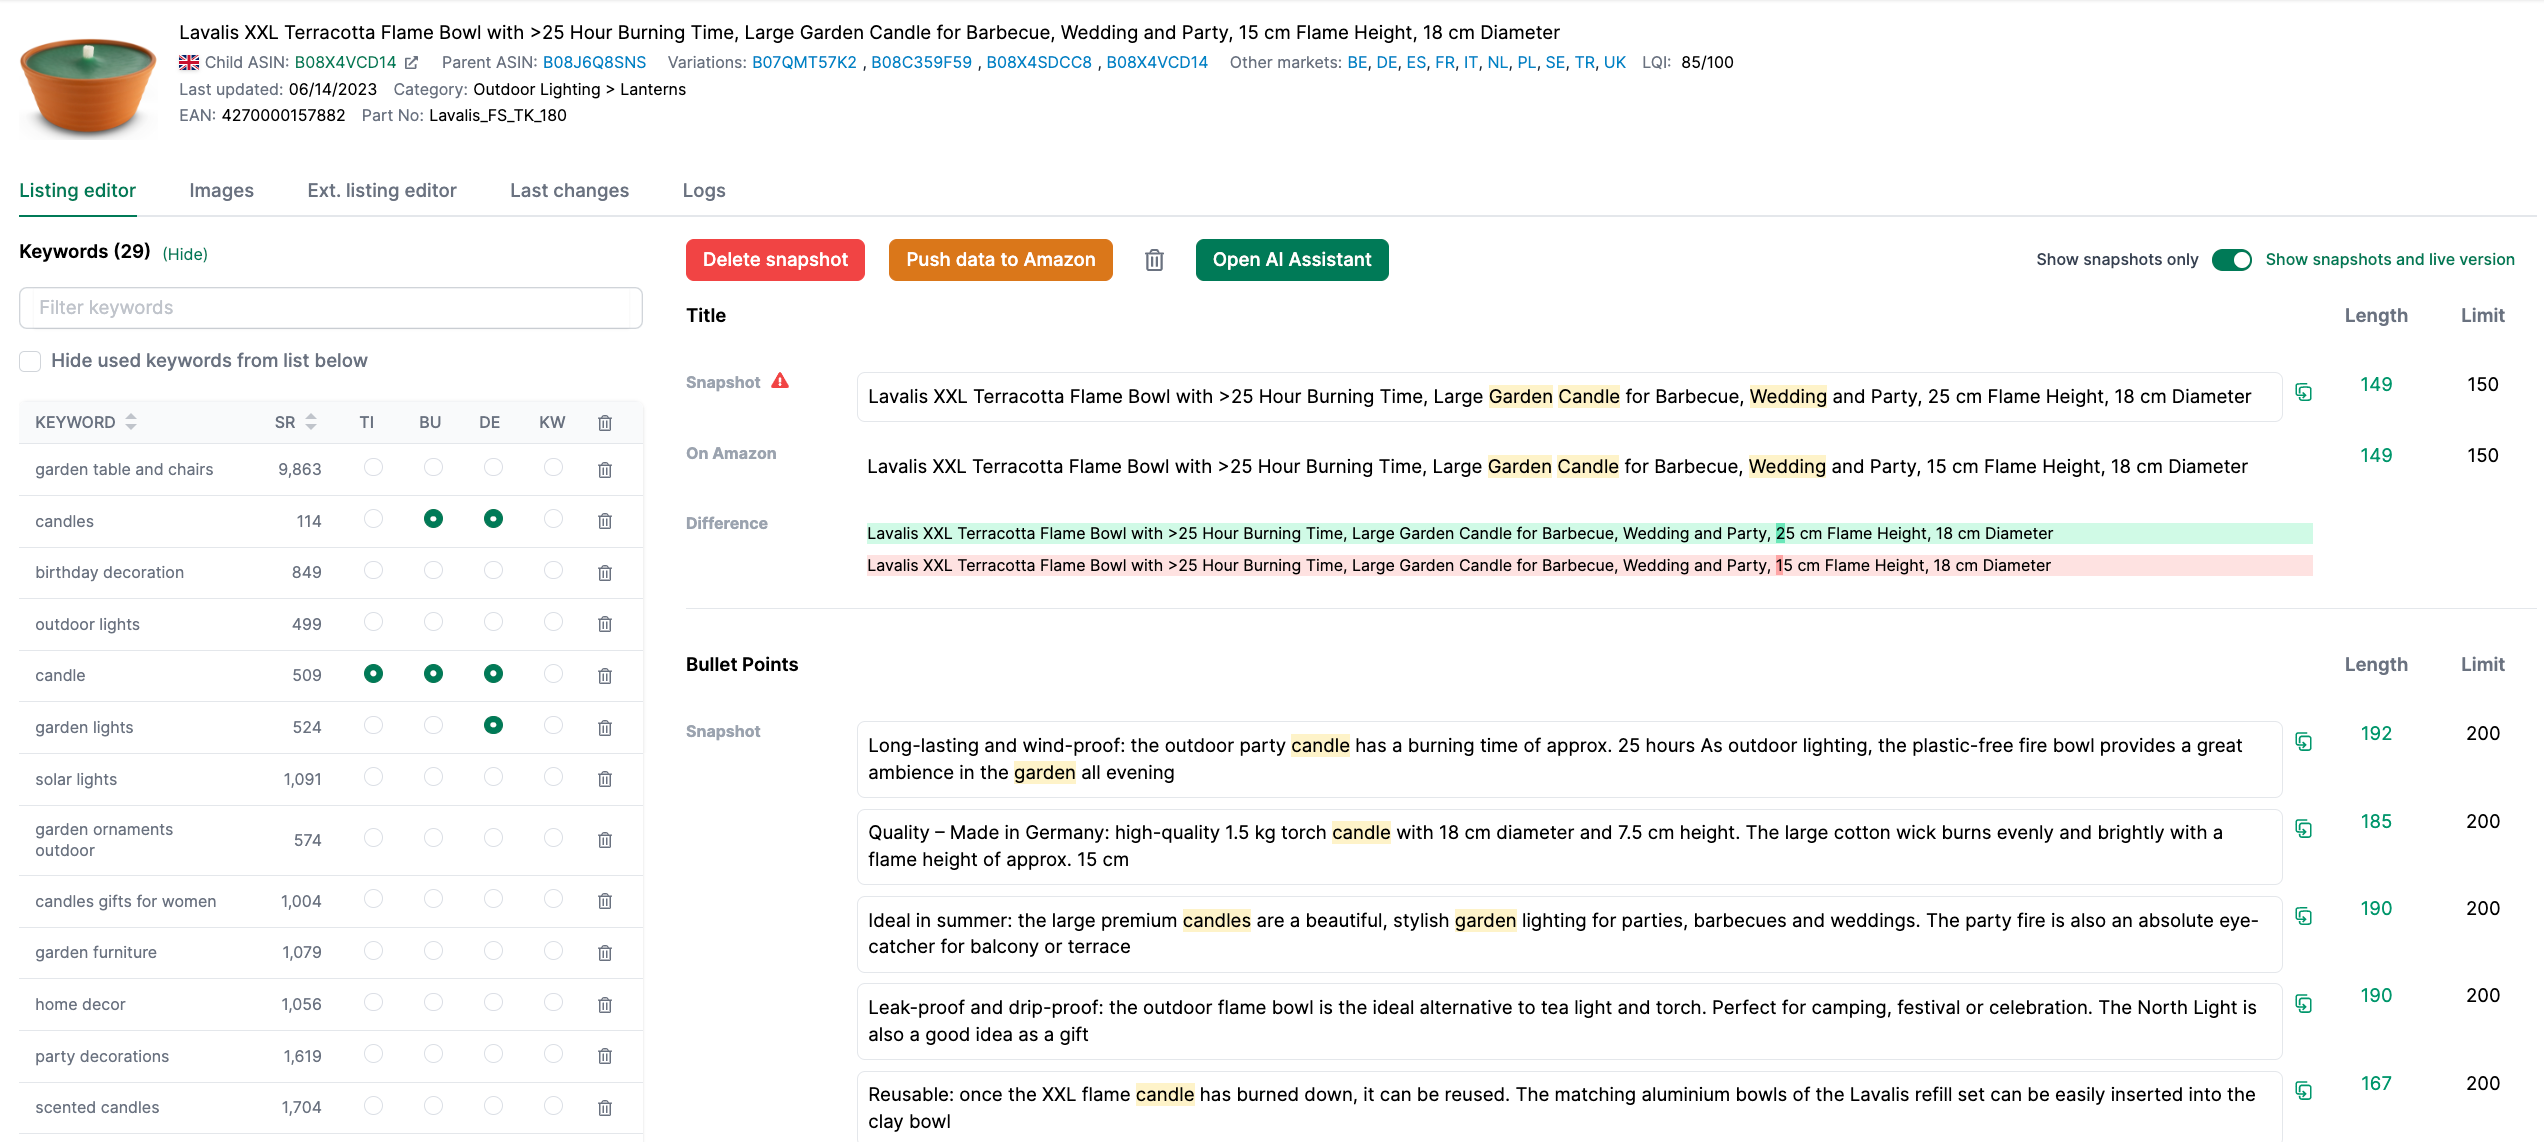
AMALYTIX now compares your snapshots daily with the current Amazon data and shows any differences on the Content page.
Set your LQI settings
The Listing Quality Index (LQI) scores each listing from 0 to 100. It evaluates:
- Title length and content
- Number and quality of bullet points
- Product description
- Number of images
- Backend keywords
Under Settings / Products / LQI, specify the criteria for your listings:
- Minimum and maximum title length
- Minimum number of images
- Desired number of bullet points
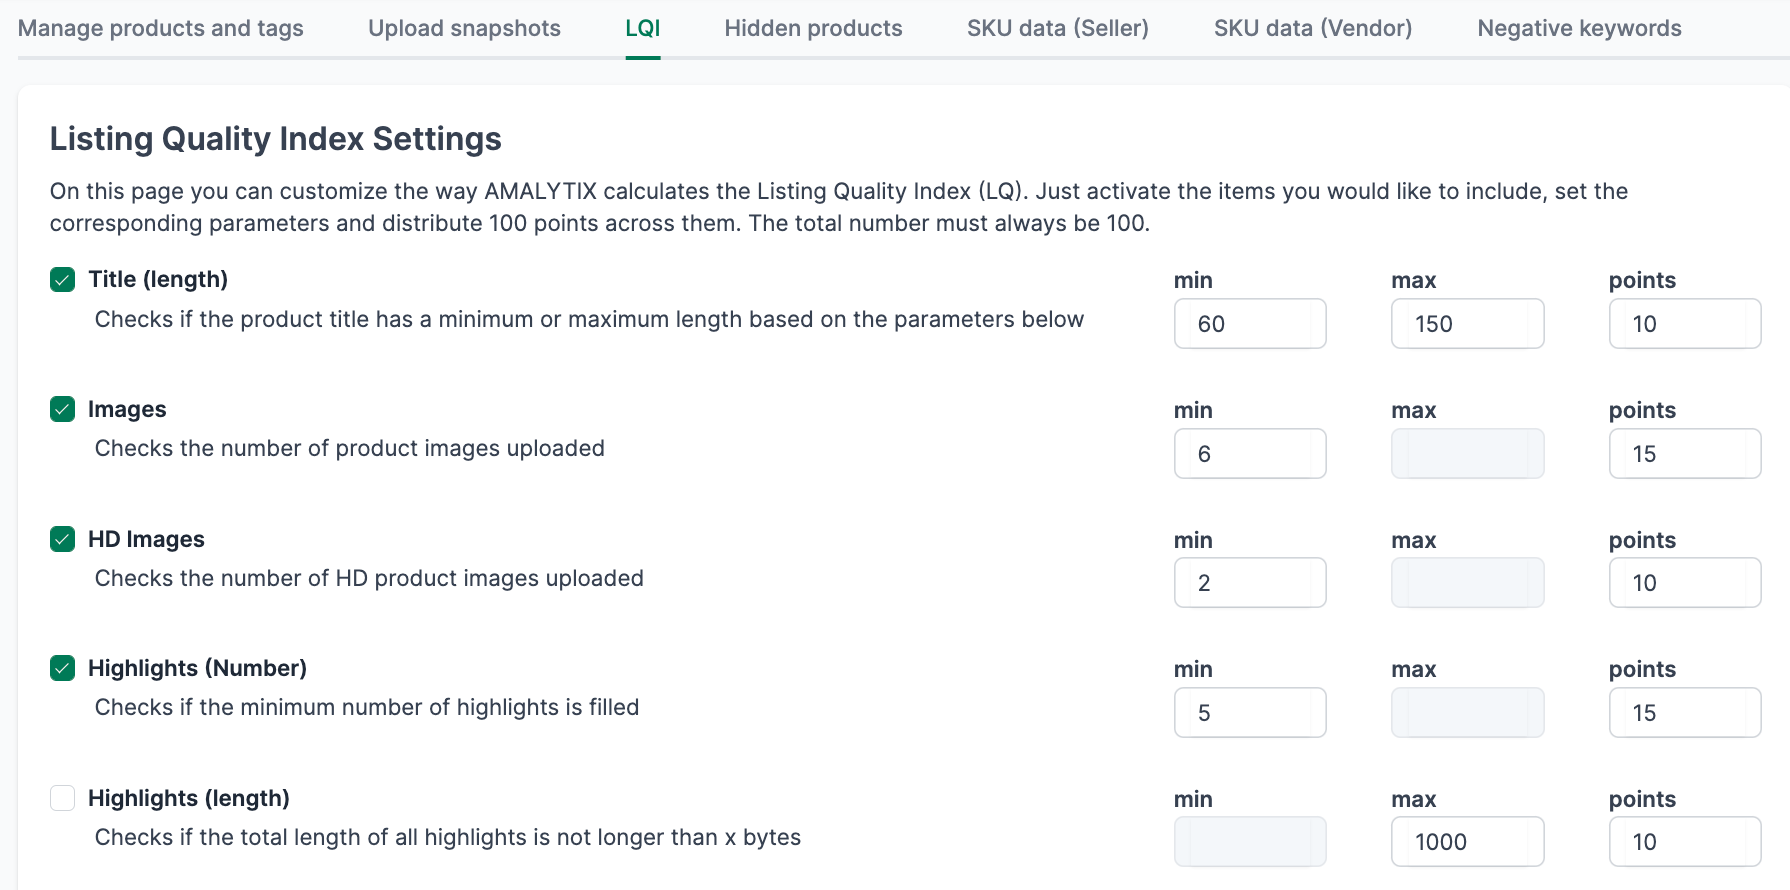
These settings are visualized on the Content page, so you can immediately see which listings need optimization.
Define keywords
Keyword tracking monitors your product positions in Amazon search results. This helps you understand:
- How well your products rank for specific search terms
- Which keywords are gaining or losing relevance
- Where your competitors are better positioned
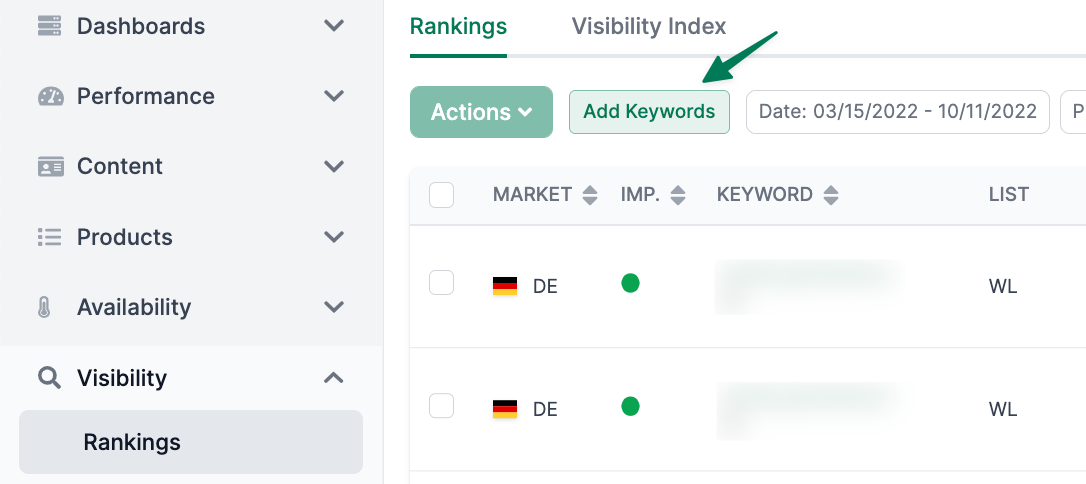
How to add keywords:
- Go to Visibility / Rankings
- Click Add keywords
- Enter the relevant search terms for your products
Rankings are updated daily and displayed as a timeline chart.
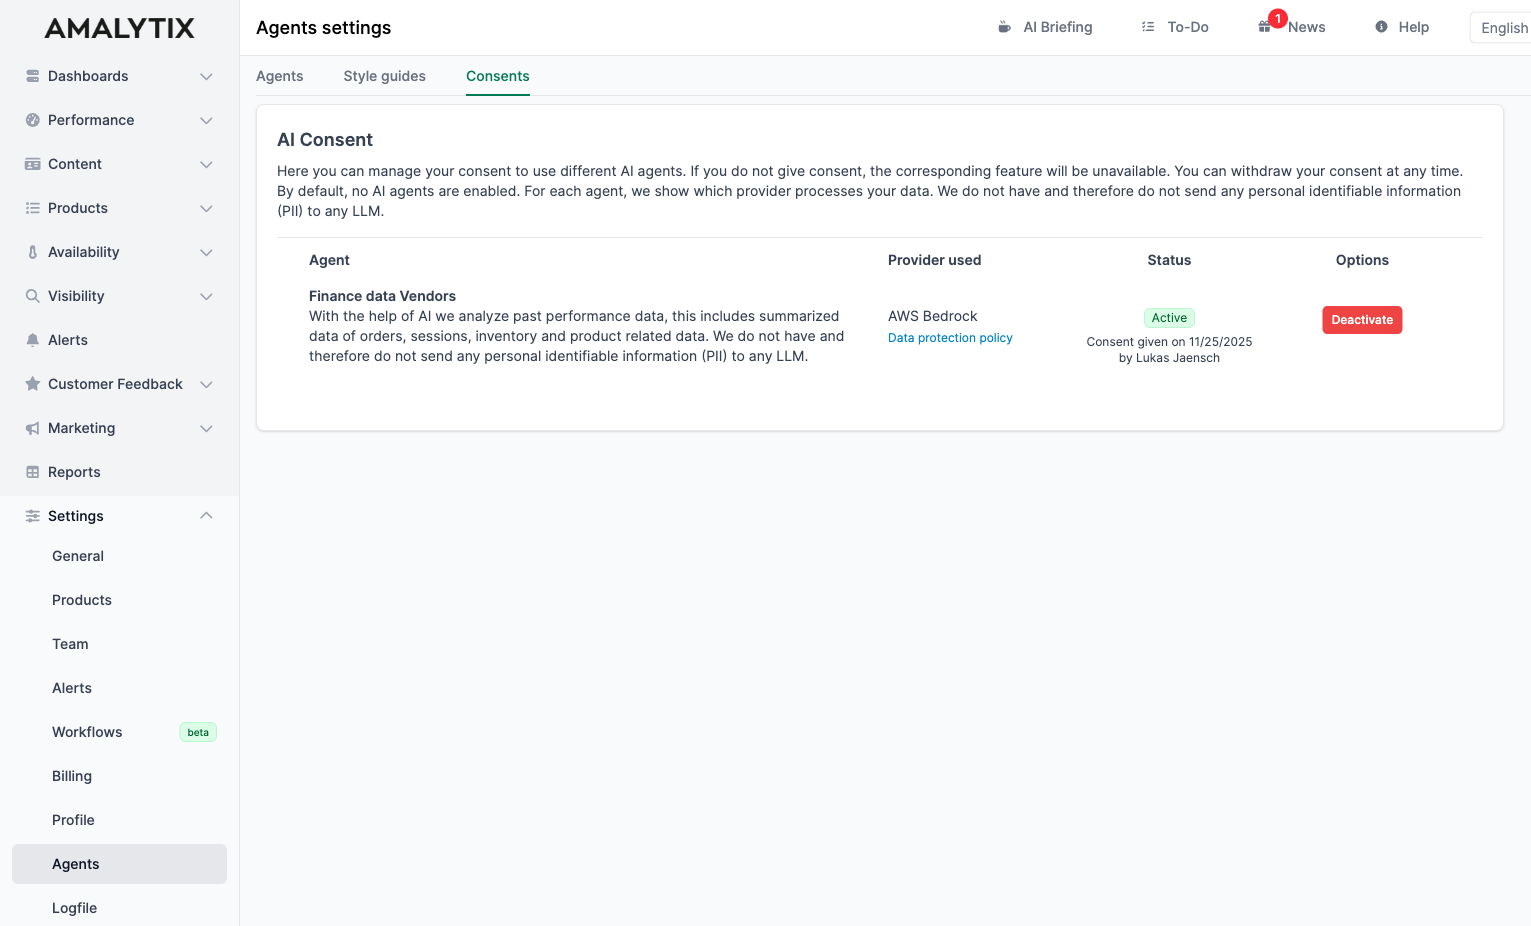
Activate the finance agent
Activate the Finance AI Agent to automatically analyze your revenue and sales data, detect trends and anomalies early, and receive actionable recommendations.
You can activate it under Settings / Agents / Consents. Afterwards, you can use the Finance AI Agent on the Seller or Vendor Dashboard or in the Analysis section.
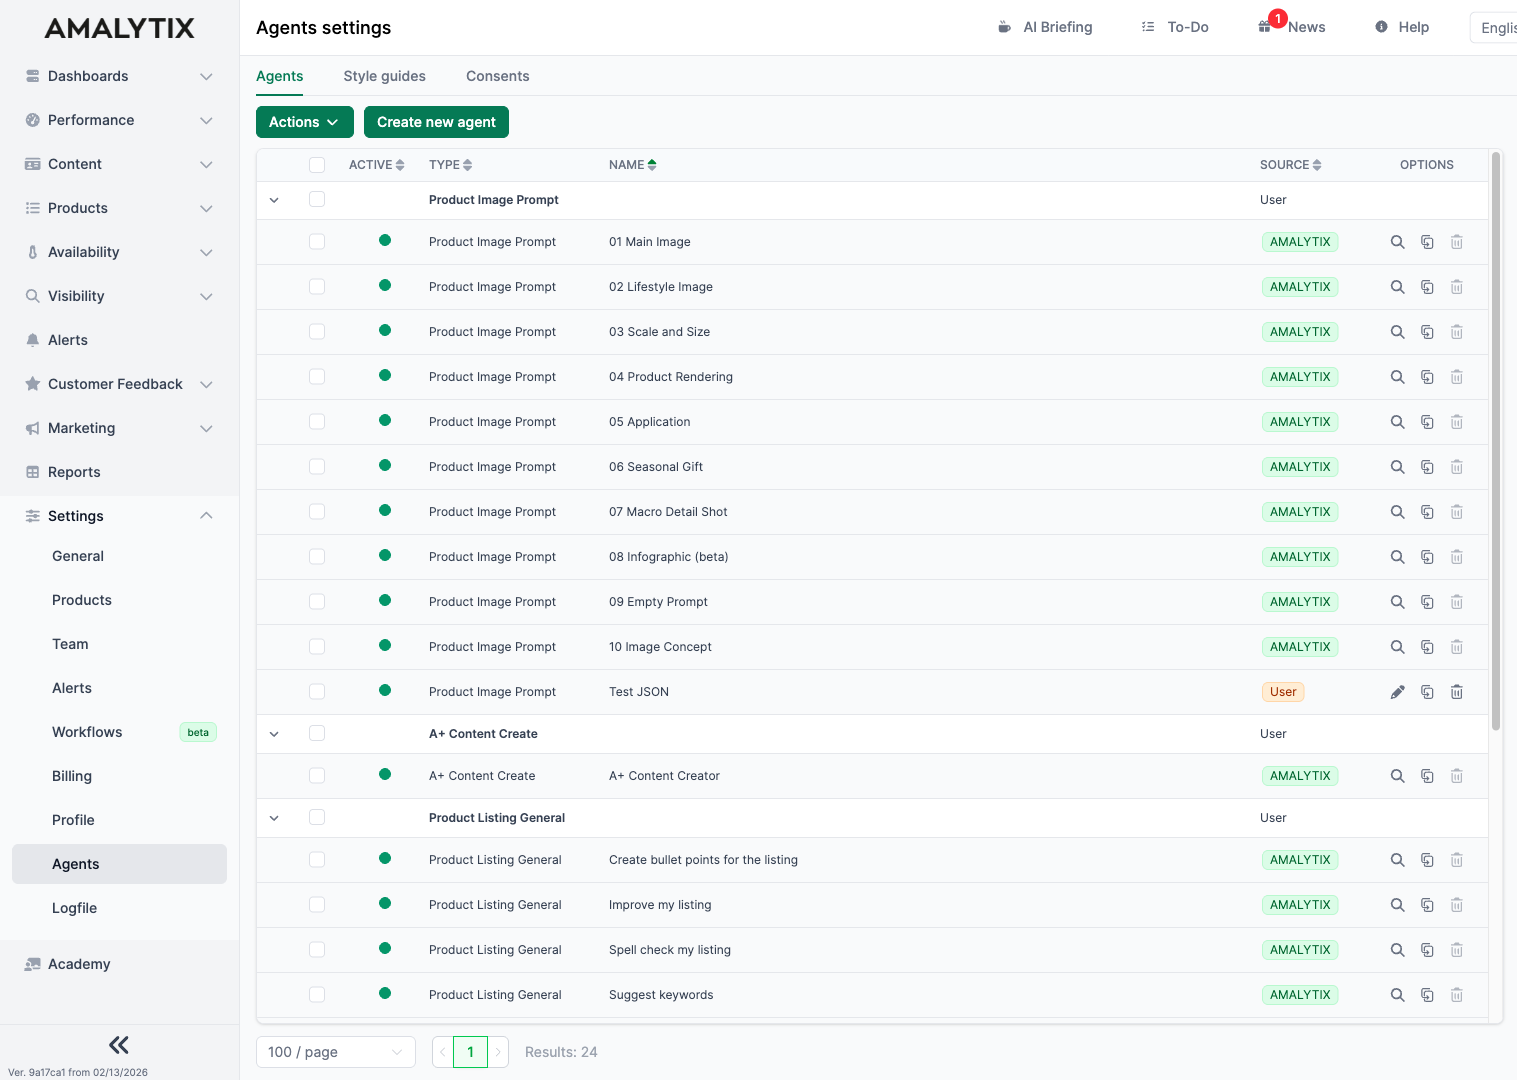
Customize prompts
Under Settings / Agents, you can customize the AI prompts to suit your needs. Duplicate an existing AMALYTIX agent or create a new one to control text and image generation according to your specifications. This allows you to optimize your content creation workflows.
Next steps
After the basic setup, we recommend:
- Use the To-Do list - Manage tasks centrally
- Explore dashboards - See your key metrics at a glance
- Create reports - Export and share data